There comes a time, even a step, in the life of a photographer where one wishes to share his photographic vision beyond a simple digital file. The time for publishing has come. Who hasn’t been in front of the question wall when it comes to calibrating their monitor?
Why is it necessary to calibrate a screen?
Starting from the generality that all screens are different (models, brands, components, prices, and many other things …), we understand better why they are likely not to display the same thing. I’m talking about quantity (color space) and color rendering.
Knowing how to calibrate the colors of your screen allows you to be serene when retouching and not to have any nasty surprises when printing your images. You spend a lot of time processing your images because you want a perfect result. It would be a shame to see a difference in color when the printer comes out. This printer may be yours or that of your officemate. The result would be the same since the file was retouched on a screen potentially showing a color display defect.
Calibration is a quasi-compulsory step to guard against this inconvenience. I will nuance this last sentence because some monitors are very well calibrated out of the factory today. The technological advances of the last screens (2-3 years) in calibration/ quality of the slab are a godsend and an opportunity for all photographers.
The interest of the process is to correct all the display imperfections (dominant and color range) of your screen. Under these conditions, the print of your shots will in principle be identical to the colors you view on the screen.
Don’t make the mistake of manually correcting the different color channels (red, green, blue). Your approximate and incomplete settings (based solely on your own vision) are only for one image and will be totally inadequate for another shot.
It should be noted that the human eye is unable to know the level of brightness of a screen as well as to read a color L-a-b (color space also called gamut) without any element of comparison.
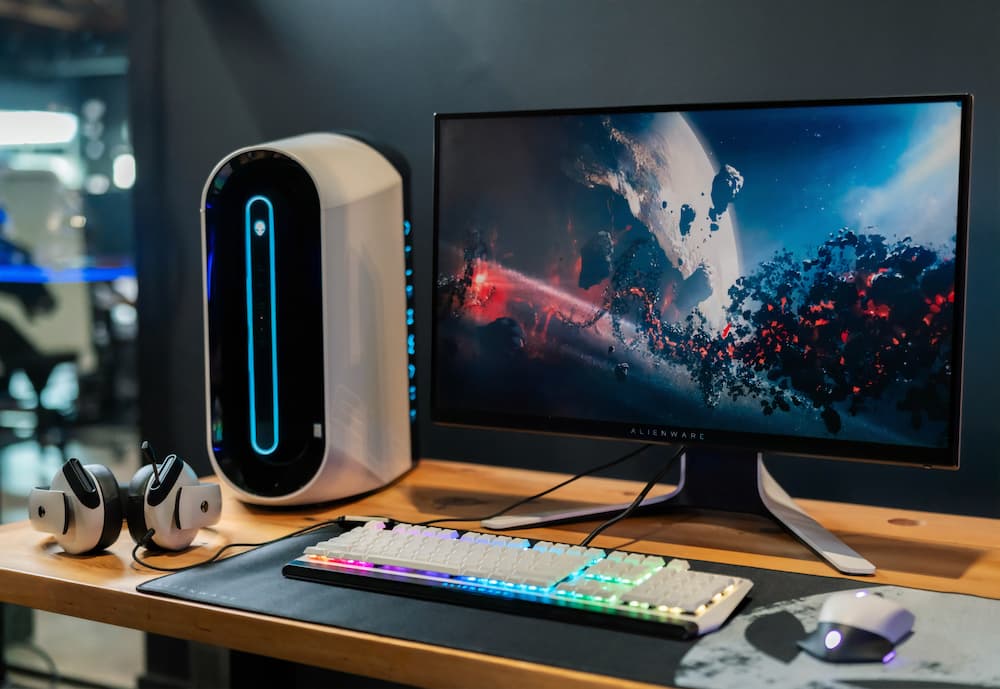
The Monitor
A monitor, whether fixed or portable, offers a brightness setting. The screen works on the backlight to display all the visuals in your workstation. Most fixed displays have physical buttons with a menu of settings (contrast, brightness, colors…). Laptop screens have the same settings, but this time in-house, you can change them electronically.
A screen that is not properly calibrated and/or whose screen viewing gap from the print is known and managed by you can be quite satisfying in preparing your future prints.
Generally, brightness menus describe a percentage scale ranging from 0 to 100, with 0 being the minimum brightness of the screen backlight and 100 the maximum value.
Warning: Screens often come with a default setting of brightness far too high to prepare photographic prints!
While this high brightness highlights the display of your image on the screen in order to obtain a flattering rendering, the amount of light is not suitable to prepare photo prints that will be viewed in much less bright light. Do not hesitate to reduce the brightness from -30% to -50% compared to the factory setting.
In summary:
- It is imperative to avoid modules that automatically manage/adapt the brightness of your display.
- So you can judge your images seamlessly from one day to the next, choose brightness, and don’t change it.
- Beware of the overly flattering rendering of your monitor impossible to reproduce on a print:
- Avoid exceeding 50-60% of the brightness scale.
- Stay between 30 and 50% brightness for your display.
- The notion of brightness among manufacturers technically corresponds to the luminance value. This is expressed in candela per m2 (cd/m2).
- An acceptable luminance for image management and comparison should be between 80 and 160 cd/m2. You’ll find two types of standard-setting accessible for brightness: electronic (directly on the display (hardware setting) and computer (by the computer’s operating system (OS) or by the graphics card software).
You will find on the web a lot of information about monitor calibration, you will find below our recommendations.
For photographic use of your monitor, prefer the following settings:
- sRVB, D50 (5,000 K)
- Gamma 2.2
- 80 CD/m2
- International Standard (ISO 3664:2009).
You can also choose to place yourself in the same configurations as the PICTO facilities that were established after testing in a production situation. These are the following settings:
- 5,300K
- Gamma 2.2
- 120 CD/m2
Remember to name your profile with the date of creation and the parameters used to create this profile.
Don’t hesitate to make test prints to make sure your monitor color matches your printer output.
Some common examples of the discrepancies between screen and print:
- If your monitor is set to a brightness of 160 cd/m2 (too bright), the prints received will seem too dense.
- If your monitor is set at a 6500K color temperature, the prints received will seem too yellow (too hot).
- If your lighting to look at the prints is at a 6500K color temperature, the prints received will seem too blue (too cold).
- If your lighting to look at the prints is 500lx (standard home/office lighting), the prints received will seem too dense.
These discrepancies need to be corrected by you, we do not change your images.
Other displays that need accurate monitor calibration
Calibration is not only limited to computer monitors and home televisions but also to a wide variety of products and industries. The following are some.
- Vehicles, especially electric cars. The latest models of electric cars have wide screens and monitors that display the car parameters and driving conditions. Accurate monitor calibration in cars is different because it is not the colors that are being calibrated but the data. Some of these include but are not limited to speed, temperature, oil and fuel, rear and front videos, and a lot more parameters. The beauty of these electric car dashboards and monitors is just one reason why people are switching to electric cars.
- Industrial machinery. Industrial pieces of machinery have monitors too that need to be calibrated. In fact, like that of electric cars, calibrating these monitors are more complex than we can imagine.
As a last note, all things of any type that has a screen and displays something needs to be calibrated. Whether it’s a phone, office, pc, or monitor of a CNC lathe machine, both colors and data need to be accurate.